Wednesday, 14 April 2021

Extended Practise: Final Film Shading 4

Extended Practise
Final Film Shading 4


  • This week:
    • I worked on the final colour for Shot 19 and the final shading for Shots 19, 21, 22 and 23.
  • What went well:
    • As I hadn't coloured a lot of Shots for Aviation Aggravation, I was glad to be colouring Shot 19, as this allowed me to make use of the Stroke tool to create Geoffrey's markings. I think I was quite accurate and consistent with the markings on his face, as I was worried about them being wobbly. Using a flipping-frame technique, I was able to keep them very consistent.
    • Here is Shot 19:
Shot 19 Colour
    • As I was working on Shot 19 Colouring and also the shading, I was able to quickly add the shading after I'd finished colouring.
    • Here is the shading for Shot 19 also:

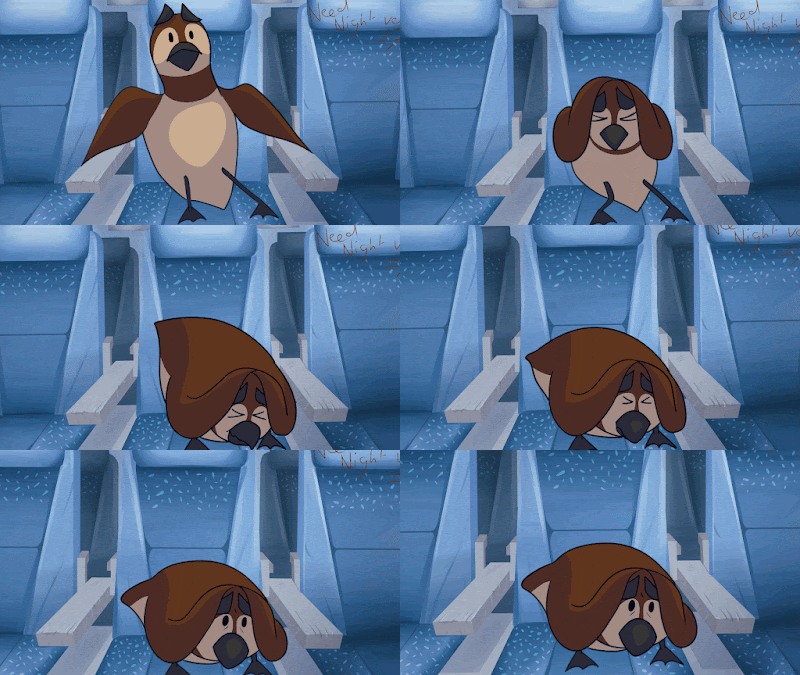
    • For Shots 21, 22 and 23, I followed the same shading process using the cutter tool. I think that I have kept the shading style very consistent between scenes and it adds a lot of polish to the final animation.
    • For Shot 22, Joseph and I tested adding the Air Hostess in the background, however as she was just a still it felt out of place in the animation and we preferred it without her in the back. If we had extra time, we would have fully animated her, but we unfortunately don't have enough time to add this.
    • Here is Shot 22 with and without the Air Hostess:

Shot 22 without the Air Hostess


Shot 22 with the Air Hostess
    • Here is the final shading for Shots 21 and 23:
Shot 21 Shading

Shot 23 Shading

  • What could be improved:
    • I prefer the high contrast lighting used in Shot 22 with the Air Hostess, rather than 22 without her, therefore I'll probably adjust the contrast and lighting in post-production for this shot.
    • The final backgrounds need to be added to each of the shots and I think some further editing in Post-Production to add contrast and lighting will really help bring each of these scenes together. I will consider this when I start editing, this week.
  • Next time:
    • I will be exporting each of the scenes and starting editing the final animation.

Extended Practise: Kingdom of Masks Post-Production 3

Extended Practise
Kingdom of Masks Post-Production 3


  • This week:
    • I worked on the compositing and VFX for Still 13 and Scenes 24-25 for the Kingdom of Masks project.
  • What went well:
    • As I had learnt from the previous edit I did for Stills 17 and 14, where less is more, I decided to apply this to Still 13, as it was to be edited in the same way. I think that by applying the Puppet Tool and just giving him a subtle swing of his arm, in slow-motion, it works much better as a subtle effect. 
    • Here is Still 13:
    •  As a last-minute addition to my Post-Production schedule, I was asked by Emily and Khoa to try to composite and animate the transition between Scenes 24 and 25. I found this process quite tricky, as they wanted Scene 24 to go into a crystal ball, which the Fairy in Scene 25 is looking over. However, as I had learnt a lot about using masks and pre-composites, I was able to create an animated mask for Scene 24 and animate the light/VFX so it looks like it is inside a crystal ball. 
    • As I had a better understanding of animating applied effects in After Effects, due to my work on Post-Production on Rhys' and Khoas' projects, I found the process much easier.
    • Here is the transition from Scenes 24 to 25:
  • What could be improved:
    • The time stretch I added to the end of Scene 24, in order for the transition to work better, could be further improved, as it holds for a little bit too long at the moment. Either this, or have better planned that there would be a transition here, so the slow-motion jump could be animated and extended further.
    • Furthermore, the zoom of the Fairy and Scene 24 is slightly out of sync, however this was very tricky to have them moving perfectly, as I also needed to scale the Scene. This could have been something I fixed with a pre-composite, instead of using a mask. This is something I will consider for future projects.
  • Next week:
    • Khoa will be putting the final animation together, ready for submission!
Tuesday, 13 April 2021

Extended Practise: Final Film Shading 3

Extended Practise
Final Film Shading 3


  • This week:
    • I worked on further shading for my final film.
  • What went well:
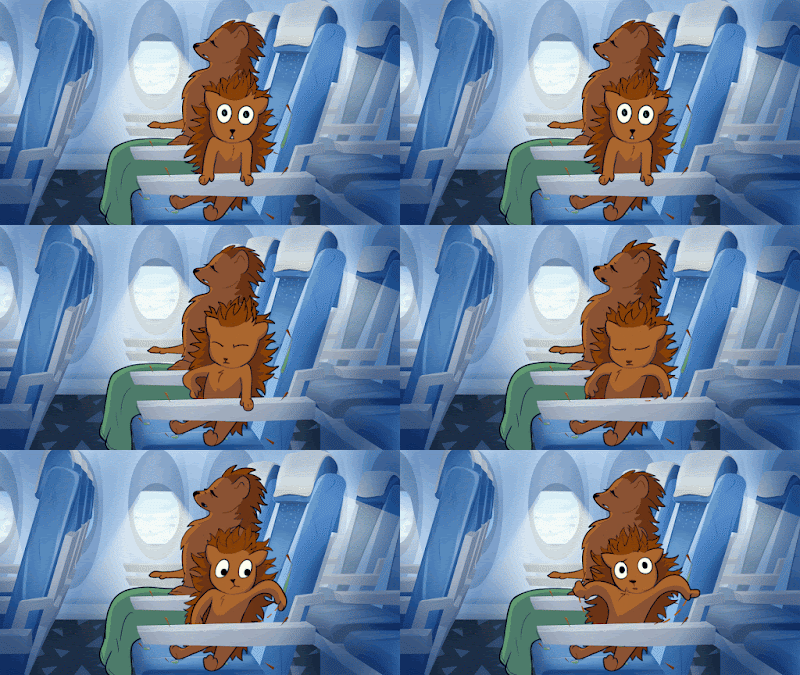
    • Using the same method as previous scenes, I added shading to Shots 8, 12, 16 and 17.
    • As these were shots on the plane, I took into consideration the different sources of lighting when Geoffrey sits down and I needed to also take into account when the scene changes from day to night. I think I did a great job of establishing where the light sources are and keeping consistent with the shadows this way.


    • Shot 16 and 17 are a great example of where I paid attention to the lighting changes within the scene. For example, in Shot 16, I made sure the Hedgehogs were lit from above, as there would be a light above them.
    • For Shot 17, I tried to make the shadow move as he approaches the window, to lift the blind. I think this adds a lot to the believability of the world and makes the characters feel more interactive with the environment. This is an approach I decided to take for further shots going forward.


  • What could be improved:
    • I think in future projects, I could consider varying the shading for different scenes with different lighting. This could potentially take form as different colours used for the shadows, or changing the intensity of the shadows depending on how close a character is to a light. Shot 17 could benefit from this, as he moves closer to the window, the shadows become more intense. This is something I will consider in future projects, now that I understand shading workflows and different methods I can use for shading.
  • Next week:
    • I will be working on the colour for Shot 19 and the shading for Shots 19, 20, 21, 22 and 23.

Monday, 12 April 2021

Extended Practise: The Last Riders' Post Production 3

 Extended Practise
Rhys Post-Production 3


  • This week:
    • I continued compositing scenes for Rhy's project 'The Last Riders'.
  • What went well:
    • I worked on Scenes 13, 25/25.2, 4 and 27.
    • Following the same process as previous weeks, I started working firstly on Scene 13. This was one of the most difficult scenes I needed to work on for Rhy's project, as the file given to me was just a composited MP4. Rhys wanted me to apply the misty glow effects to Marow, to remain consistent with previous scenes, however the background was within the MP4 file.
    • Here is the clip which was sent to me to edit:

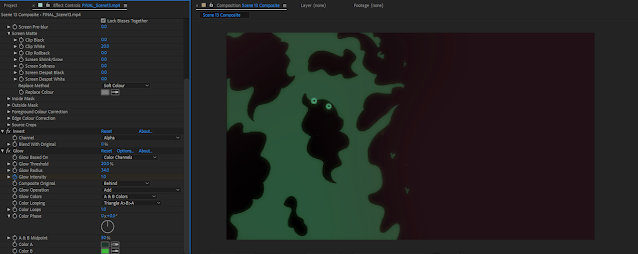
    • I wasn't sure at first how I was going to edit this, however I enjoyed the challenge of trying to add the glow to the mist, despite having uncertainties about it being possible to do. My idea consisted of making use of Keylight to try isolate the green colour of the mist and then finding a way to add a glow to that selected zone. By using Keylight and adjusting the clipping white of the Screen Matte, I could isolate that one colour.
    • Here's what this looked like:

    • I, then, applied an invert, so that it would invert the Keylight and select only the green areas:

    • To this isolated section, I could apply a glow:


    • I, then, imported another layer of the original clip, so that the glow mist effect would just overlay it. Overall this process was quite tricky to figure out, at first, but I'm incredibly happy I was able to figure this out and this is definitely a process I will use in the future.

    • Here is the final clip for Scene 13, after making further adjustments to Marow's eyes, upon Rhy's request:
    • As I was getting much quicker with editing, due to the repetition of the process and applying the same compositing effects to each scene, I found compositing Scene 25 and 25.2 quite simple. For Scene 25, I used the same lighting process and in Scene 25.2 I added a slight green glow to the background, which is illuminated from Marow's mist. 
    • Here are Scene 25.2 and 25:


    • For Scenes 4, 21 and 27, I followed the same lighting process as previous scenes and, again, this process took me much quicker than I had initially anticipated, because I was understanding the workflow better.
    • I added shadows to Scene 27, casted by Marow and Isla, as this would keep consistent with Scene 26 (which had a shadow cast over Isla). 
    • I also added shadows to Scene 21 and a Light Ray onto the glass. I took into consideration the improvements I wanted to make from last time, which was taking the Scenes lighting more literally. As it was close to the window, I thought the light would be harsher and the glass would reflect a lot of light. 
    • Here are Scenes 4, 21 and 27:


  • What could be improved:
    • In a few scenes, the lighting feels slightly inconsistent, because of the way the overlay is reacting to different backgrounds and characters in scenes. This would be greatly improved if I had multiple files open, so that I could adjust the opacity and colours based upon another scene I had edited. Having another file open as reference would help reduce the inconsistencies between lighting in scenes. I will consider this going forward in other projects.
    • Similarly to my improvements on previous posts, I think the colour used for the lighting doesn't work too well and feels too dark for something that's supposed to be a light. 
  • Next week: 
    • Rhys will be putting together the final animation!

Friday, 9 April 2021

Extended Practise: Rhy's Project Post-Production 2

 Extended Practise
Rhy's Project Post Production 2


  • This week:
    • I worked on the post-production for Rhy's Project, The Last Riders. 
  • What went well:
    • I was able to get Scenes 7, 12 and 26 composited, along with a start on the Dust cloud VFX for Scenes 1 and 2. 
    • For Scene 7, I only needed to composite and add lighting based upon the HEX Code which was sent to me last week. To keep consistent with the other shots, I added the lighting the same, with a light wrap on the doors opening.
    • Here is Scene 7 Composite:

    • Scene 12, however, was slightly more complicated. I added the light wrap and lighting FX, similarly to previous scenes, and then added a slight glow to the green mist, to make it appear more mystical. 
    • Rhys had sent me a version of the composite he had done, which I needed to try replicate. I noticed the eyes had a glow, so I made use of the Light Rays tool in After Effects to make a glow and so that they almost shine through the mist. 
    • The first version I sent Rhys had a slight ease, but he wanted me to improve it by making it ease more. Here is the old version and the improvement:


    • Scene 26 followed the same lighting process, where I added the Light Wrap, the glow to the mist and using the Light Rays tool for Marow's eyes. These consistent effects work really well and helped tie the scene together more.
    • Some feedback I received from this was to add a shadow to Isla when Marow appears and adjust the lighting. I think this worked a lot better and made more sense, as Marow would be blocking the light from the door.
    • Here is Scene 26 before and the improvements:


    • I additionally worked on a dust/sand cloud effect for Scenes 1 and 2. Initally, Rhys and I had discussed I make a VFX Loop, which can be green-screened onto any scene, however this over-complicated the problem, so I created a VFX Loop, which could be used as a mask instead.
    • I think that I was quite creative in the way I made the dust loop, using Animated Noise and Particle World. I made two versions, one which can go left and one which goes right. This allowed for more flexibility when editing the dust clouds onto the Scenes.


    • This was very easy to apply to Scenes 1 and 2, as I just needed to use a Mask, with a feather and animate the mask. This meant I had full control over the movement and animation.
    • Here are Scenes 1 and 2, with the dust VFX:

  • What could be improved:
    • I would have liked to add more colour variation and effects, such as applying masks to act as shadows, especially how I did with Scene 26. I could further explore how compositing can make adjustments to shadows within a Scene.
    • Whilst I wanted to have more freedom in experimenting with colours, I needed to stay to Rhy's directions. This is something I need to improve on in future projects, by being aware of when I'm becoming too carried away and limiting myself.
    • I think I could further improve my lighting and compositing by exploring the way light interacts with objects more and how lighting is used within industry. I still don't have a lot of knowledge of compositing lights in After Effects, so this is something I would like to look into further, by watching YouTube tutorials and exploring courses on Skillshare and LinkedIn. 
  • Next week:
    • I will be continuing compositing and editing Scenes 13, 25, 4, 27 and 21.

Tuesday, 6 April 2021

Extended Practise: Kingdom of Masks Post-Production 2

 Extended Practise
Kingdom of Masks Post-Production 2


  • This week:
    • I worked on the VFX for Stills 17 and 14 for Khoa and Amy's project.
  • What went well:
    • When I first puppeted and added VFX for these scenes I wasn't sure what needed adjusting, but I knew something wasn't right about them. I sent them to Khoa and took a short break, before coming back to edit them.
    • Whilst the Particle effects worked well, the movements were really off. Once I had shown the rest of the group, we came to the feedback that they move too much, they feel as though they're underwater and the bodies warp a little bit too much.
    • Here are the initial animated Stills:


    • I adjusted the movements slightly to reduce the "underwater" effect which was happening before. This helped greatly, as it reduced the warping and made the movement much more subtle.
    • Here are the improvements:

  • What could be improved:
    • Similarly to the previous stills, these felt very flat and were difficult to animate, as all of the characters were on the same layer. This made their movements feel really mechanical and flat. I think if I were to do this technique again, in the future, I would create puppets, using separate layers for each body part, which allow for more control and movement.
    • I still need to make some adjustments to the background and I think some lighting effects would have benefitted the scene a lot. This is something I could discuss with Khoa, but as we are close to the deadline, it may not be doable.
  • Next week:
    • I will be working on Still 13, Still 17 transition effects and Scenes 24 to 25 transition effects.

Sunday, 4 April 2021

Extended Practise: Final Film Shading 2

 Extended Practise
Final Film Shading 2


  • This week:
    • I worked on further shading for Aviation Aggravation.
  • What went well:
    • Continuing with the same shading technique from last week, using the Cutter, I found the shading process quite quick and easy.
    • One thing I initially needed to learn was about how adding multiple effects to a layer may mess with others, which I found with adding the Cutter Effect to layers with a Blur Effect. However, I found that by adjusting the order of the layers and re-applying the Blur fixed this issue.
    • Here are shots in the Airport I shaded:


    • For the scenes which are on the plane, I kept the shading the same colour and opacity, as Joseph and I decided to edit the colours in After Effects.
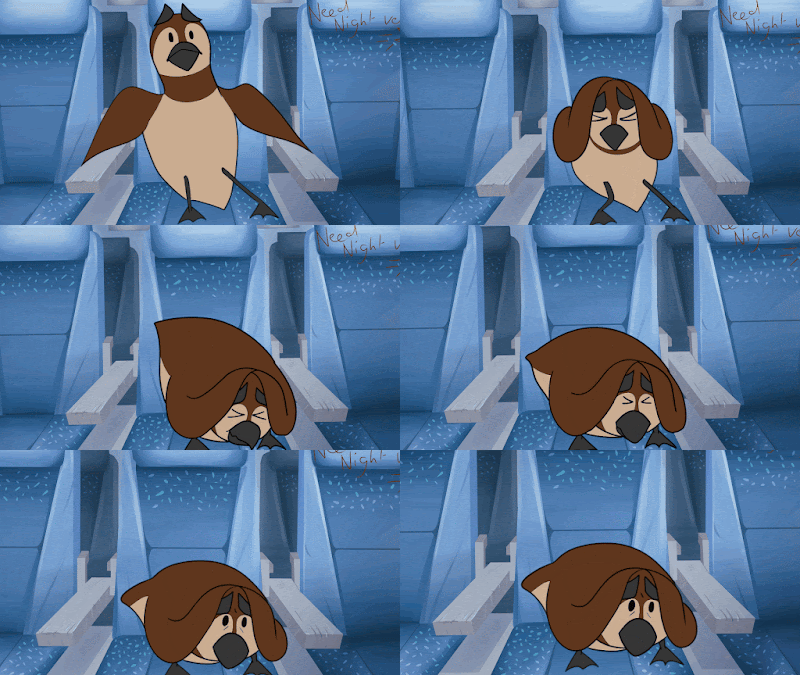
    • One thing I needed to pay attention to was how the shadows will change when it turns to night. I decided to illustrate this in Shot 14 and 15, by having the shadow move from being casted by the window, to being cast from above. I think this works very well.
    • Here is Shot 14 and 15, and the continued shading for other shots:


  • What could be improved:
    • I think that the shot where the oxygen masks fall could be improved. I tried to create a dramatic lighting, by having the Air Hostess become darker as they drop, but this could be further edited and exaggerated in After Effects.
    • Another thing I had noticed was that despite adding shading to the characters, there could still be cast shadows onto objects and the seat. Unfortunately I don't have time to do this at the moment, so this can be done in Post.
  • Next week:
    • I will continue adding shading to the rest of the shots.