Applied Animation
Learning Puppet Animation in Toon Boom Harmony
- This week:
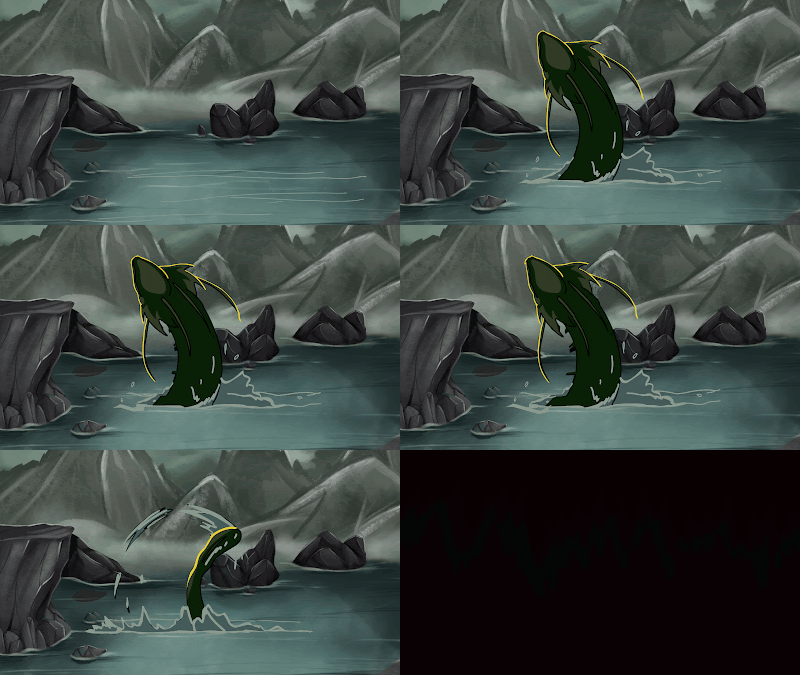
- I learnt how to create puppet animation in Toon Boom Harmony and worked on Shot 6, for the Jormungandr section of the animation.
- What went well:
- Using Toon Booms' own tutorials and the help of Joseph, who has experience in puppeting in Toon Boom, I made some quick notes on how motion key-frames work, creating peg hierarchies and rigging with deformers. These are all of the tools I needed to create a full rig in Toon Boom.
- The first test I tried was taking the already animated frames and then adding a quick rig to them, to extend the motion. This did not go to plan, as the rig wasn't set up properly and it needed to be more organised with pegs.
- The second attempt I made in a separate file, from a different angle, just to see whether that would work better. This turned out the best so far, as I used separate layers, incorporated pegs and I also used rigging as well, for the fins and tendrils of the serpent.
- This worked better, as I had a better understanding of how the pegs worked and I was able to apply a blur to specific layers, to create a sense of depth. This is something I can now use in future animations in Toon Boom.
- What could be improved:
- There still could be more improvements made to the motion and timing of the movement, especially with more experiments using the puppet feature and exploring the best way this can be done. I will be continuing to redo this shot, from multiple angles and making adjustments to timing, in order to improve it.
- Next week:
- Ill be continuing experimentation with the puppet tools and then starting the key-frames for the scenes with Fenrir.


No comments:
Post a Comment